Thinking about the user experience during development is crucial. A sure way to lose a user is to confuse the user. Displaying simple messages to them is an easy way to keep a user informed and confident while using your website or application. Throughout my time using Django I’ve encountered the use of Django’s messages framework to display such messages but never felt like I had a complete grasp of how helpful this framework can be.
Django’s Messages Framework is included in the standard configuration as middleware when setting up a new Django project. According to the official documentation the messages framework is used to display one-time notification messages to the user after processing a form or other types of user input. These messages are temporarily stored in a request and can be retrieved and displayed in a later request. If you would like to know more about how the middleware is configured or how the storage works feel free to take a look at the docs. In this article, I will, instead, focus on how Django messages can help you provide a user-friendly experience and even how they can help you during development.
Let’s first consider a scenario where a user registers to use an application by providing information within a Django form. Our view and template may look something like this:
views.py
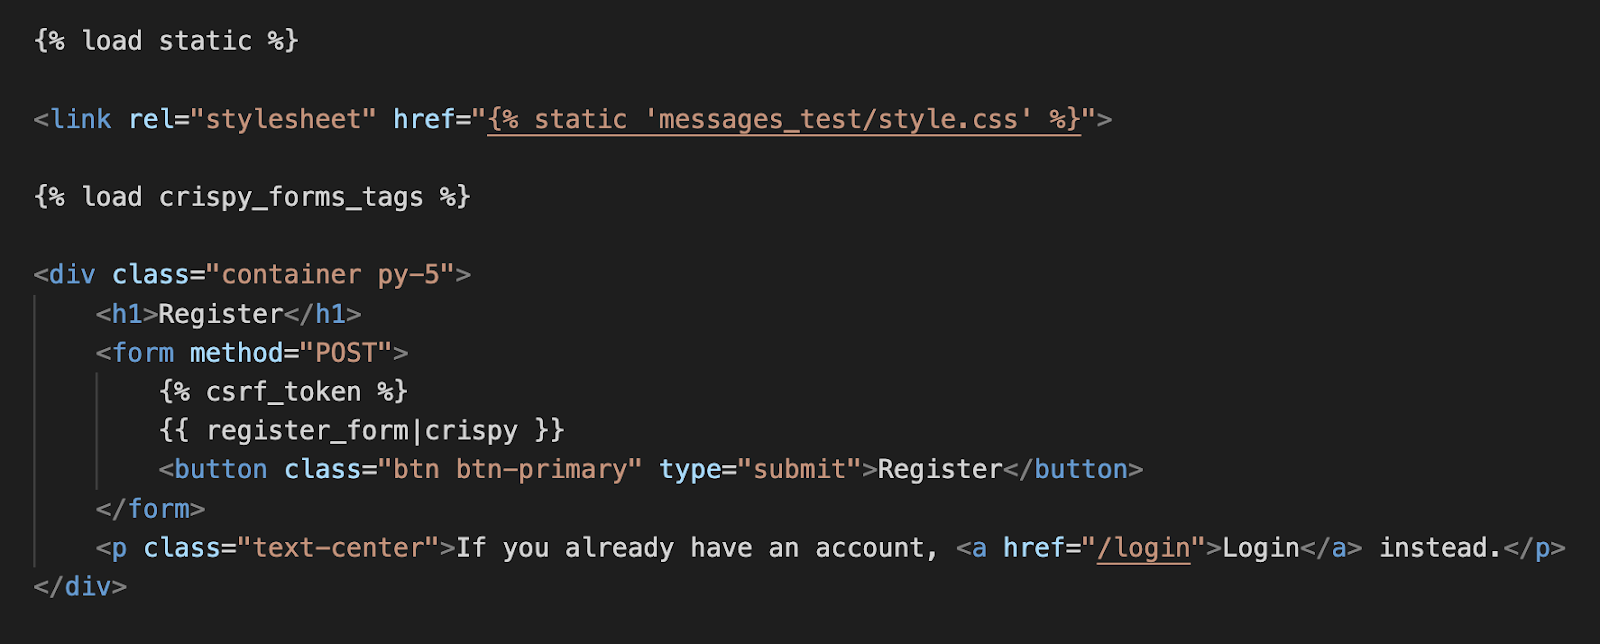
registration.html
When we run this code and visit the registration screen we’ll see a simple registration form like this:

On this registration form, a user is expected to provide some information including a valid password that must be confirmed a second time. Imagine, however, that a user types in all of this info but their password isn’t valid or maybe they didn’t match their password confirmation exactly. With the included code left the way it is, the user data will fail a validity test and they will be brought back to this screen without any indication of why they are returned to the same screen again. This is where Django messages' most basic functionality comes into play. Let’s add an error message to let the user know what is going on so they can fix their mistake.

views.py

registration.html
Let’s go through the changes here and then see what happens from the user’s perspective.
In our view, we first import Django messages from django.contrib. This allows us to then add an error message should the form fail to pass the validity test. By adding the following line we are creating a new message at the “error” level that will include the string “Unsuccessful registration. Invalid Information.”

Now, we’ve also included some extra code in our template that will loop over any messages that we have added to our request and display them.

As you can see, within our template we first check to see if there are any messages to display. If the user fails to include valid information and our error message was added our template will now include this message and set the message’s class to the tag “error” that was included in the message. Thanks to some css our message will now be displayed in red text so our user can easily see the message and respond appropriately.

The way that messages work within Django’s framework is that they are temporarily stored and then cleared once they are looped over. This is helpful to us since the message will be displayed here, letting the user know that they need to fix their information so that it fits the requirements, but will not be displayed if they leave and come back again. Once the message is cleared it will only show up if they enter invalid information again.
Django messages include a number of different levels. These levels are:
| Level |
Tag |
Value |
| DEBUG |
debug |
10 |
| INFO |
info |
20 |
| SUCCESS |
success |
25 |
| WARNING |
warning |
30 |
| ERROR |
error |
40 |
In the previous example we utilized the error level message. The error level is the highest level that is included in a standard Django message configuration. We’ll see why these levels are important later in this article.
Let’s take a look at another level included in Django’s messages. In our previous example we saw how adding error messages can be useful but what about when the user enters everything correctly? Let’s add a success message for our users so that we can welcome them to our application and help them know what to do next.

views.py
Before we look at the template let’s break this down quickly. With the added success message line we are now able to validate their form and then set up a message for them that we will then retrieve on the following request which will be rendering the “Homepage.” This message will be stored until we loop over it in a template again so it really could be displayed wherever you want on any subsequent request. Let’s add the template for our homepage now.

homepage.html
Here you can see that we are going to loop over any messages again. This time, however, we’re going to pay attention to the tag on the message and if it’s a success tag we’ll render the message and an additional area where the user can easily click to go into their profile and include any additional information that we may want.

Just by adding this error message and success message, we have already improved the user experience drastically. Our users should be able to respond to the error message, fix their mistakes quickly, be greeted upon registering for the application and be quickly guided to complete their sign-up experience. These messages can, of course, be much more detailed if you wish but for the purposes of this lesson, I think that’s enough on the basics for now. In this last section, we’ll see how Django messages can also help during development.
When researching Django messages I noticed that there is a debug-level message. Sometimes, during development, I like to display certain information for a quick reference right on my applications screen rather than printing it in the terminal. It just helps to have it all right in front of you. If we keep our current example in mind we may want to see what passwords we typed into the two password inputs while we are testing our form validator in order to make sure the password requirements are enforced. Let’s add this to the view now and then discuss the logistics around this.

views.py
Here we can see that we added two debug messages that will display the value of both password inputs so that we can easily confirm that we are testing the expected password combinations. If you are following along with the examples on your own you may notice something strange happen when you attempt to register with an invalid password. The error message will show up but neither of the debug messages will. This is where the message levels come in.
Django messages framework automatically sets the lowest level that it will display to 20 without any extra configuration. If you reference the table above you can see that debug messages are level 10. To fix this we’ll just need to add a simple line of code to our settings.py file.

settings.py
The first way to change the global level within your project is to import messages and then set the level to the lowest level tag that you would like displayed. In this case, we would like to display our debug messages so we can either set it to DEBUG or 10 which is what level debug messages are. Now if you try to register with an invalid password you’ll see both of the debug messages along with the error message.
The reason that I find this so helpful is that I can add messages for myself for quick reference and then when the application goes to production I can easily change the message level back to 20, which is the default, or even higher if desired. This way the messages that were only meant for me will not be displayed to the user. You wouldn’t want to show the user their passwords for security reasons and this will help avoid that. You can even set the level as a number in an environment variable and have a development level and a production level. Personally, I love any trick that will help me out when testing and debugging so this specifically stuck out to me as incredibly useful. Rather than worrying about leaving in unnecessary print statements that will continue to run in production just use debug messages which will automatically be removed in production as long as you set the level above 10!
While the Django messages framework is pretty simple it can be an incredibly useful tool for developers and your users will thank you as they confidently navigate their way through your application. If you’d like to dig a little deeper and learn how messages are created, stored, and accessed, or if you’d like to learn how to create custom-level messages please feel free to refer to Django’s documentation here.*